3D product animations are an excellent way to highlight a product’s features, design, and functionality in an engaging and interactive format. They’re commonly used in e-commerce, advertising, corporate presentations, and crowdfunding campaigns. But what exactly are the steps involved in creating a professional-quality 3D product animation? In this article, we’ll walk you through the complete process, step by step — from concept to delivery.
Initial Brief and Goal Setting - Everything starts with a clear conversation between the client and the creative team. Key aspects to define include: What product will be animated? - What is the purpose of the animation? (e.g., technical presentation, promo teaser, functionality demo) Who is the target audience? - What is the estimated duration of the animation? - What visual style is desired? (realistic, stylized, minimalist, etc.) A detailed brief streamlines the process and prevents major changes later on.
Gathering Resources and References. This stage involves collecting: Sketches, photos, or technical drawings of the product - Existing 3D models (if any) - Branding materials: logos, fonts, color palettes - Sample animations for visual inspiration. These assets help ensure the product is modeled and represented accurately.
3D Modeling of the Product - If no 3D model exists, the product will be created from scratch using specialized software such as Blender, 3ds Max, Maya, or Cinema 4D. Key goals include: Accurately recreating dimensions and proportions - Detailing surfaces and components - Optimizing the geometry for smooth rendering.
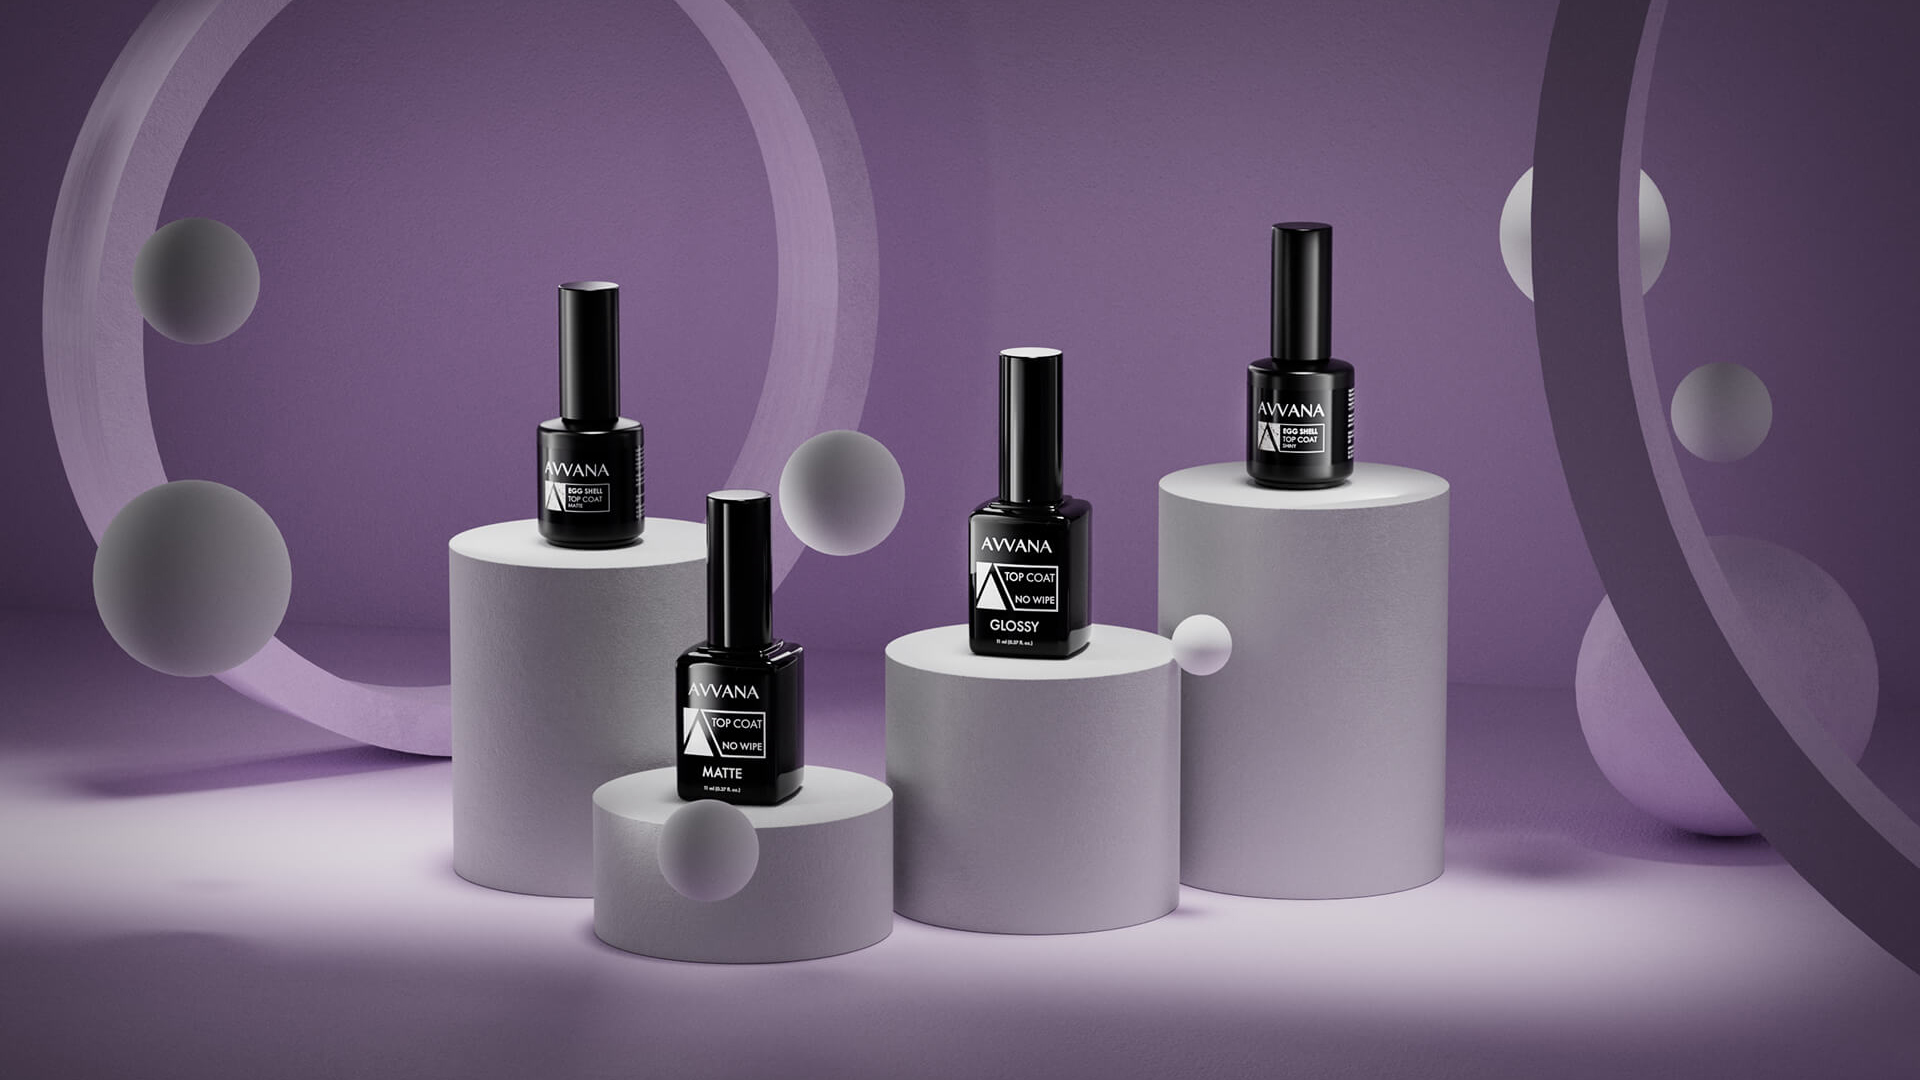
Texturing and Lighting - To give the product a realistic or stylized look, this phase includes: Applying textures: metals, plastics, matte or glossy surfaces - Lighting setup: good lighting enhances shape, detail, and visual appeal - This stage heavily impacts the final visual quality of the animation.
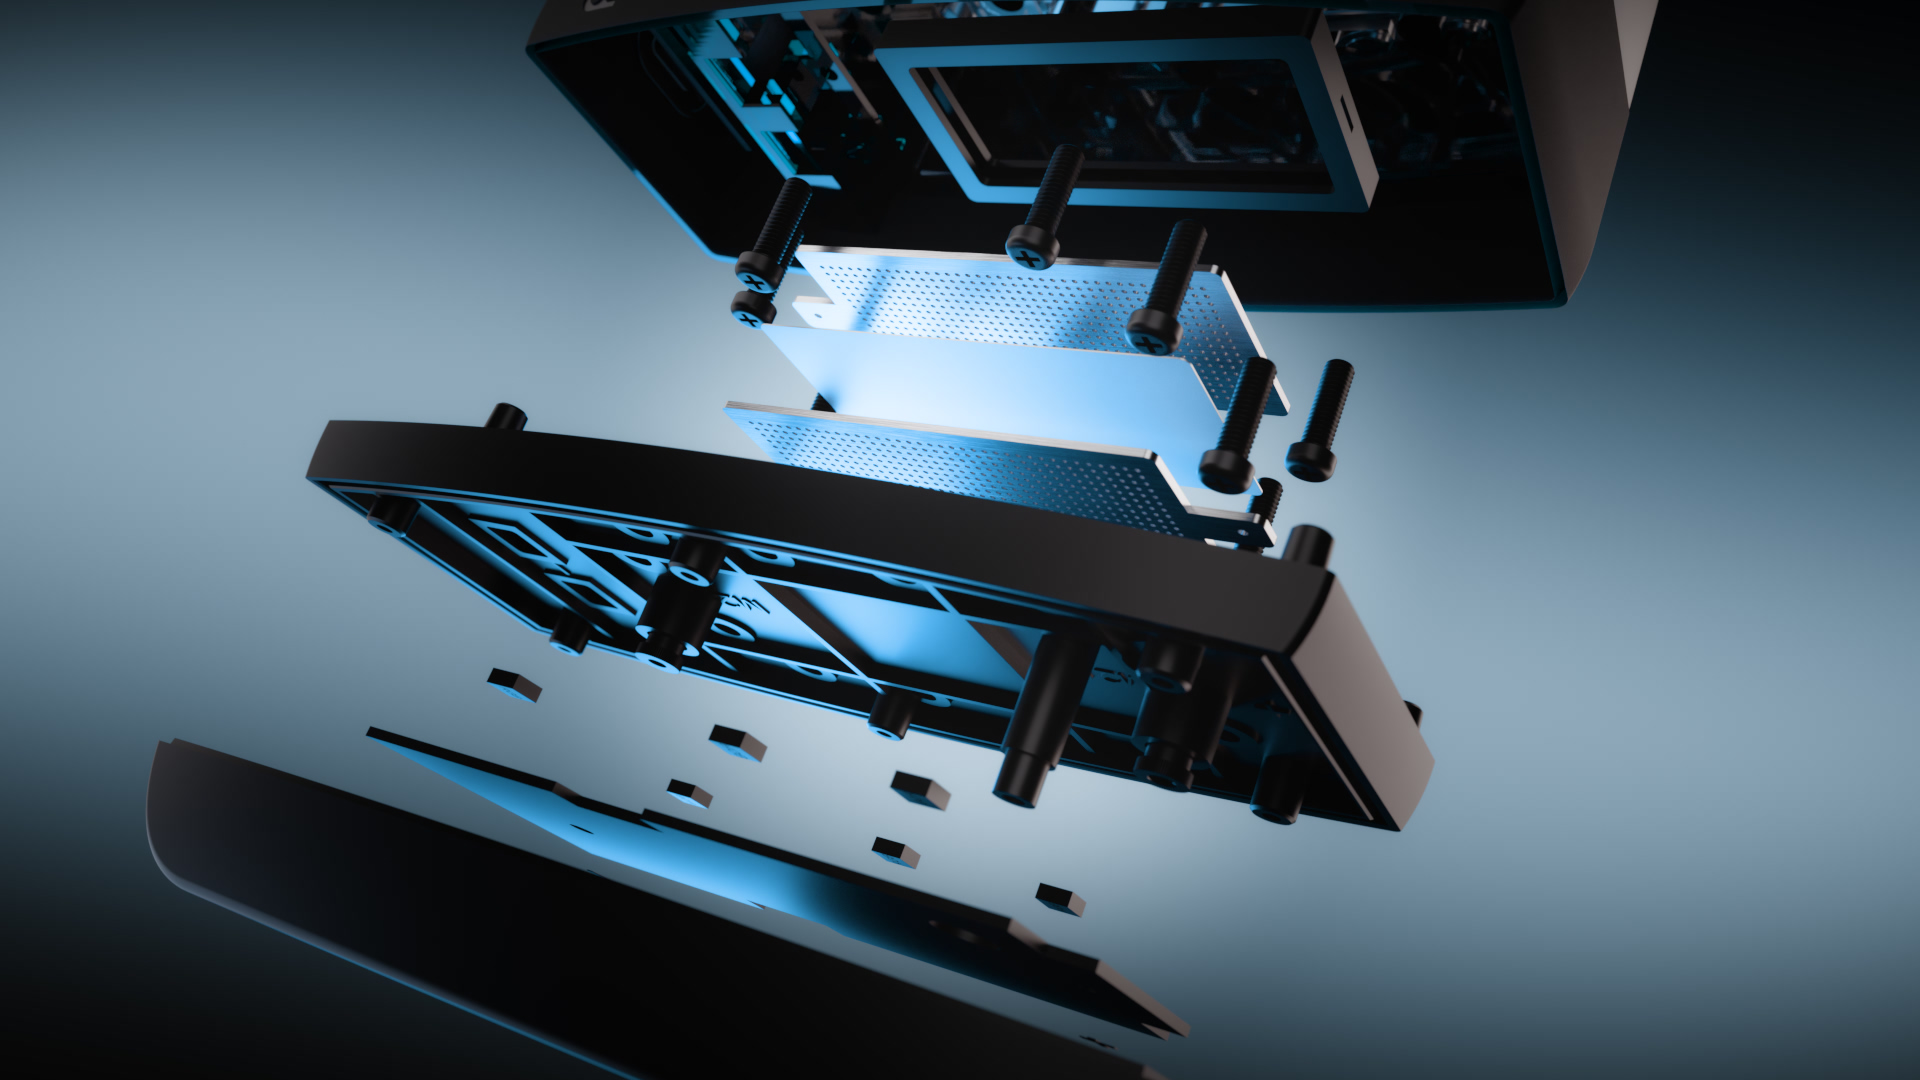
Storyboard Creation and Animation - A storyboard or animatic is created to outline the sequence of shots and movements: Product rotations, zoom-ins, or exploded views - Mechanical movements or functionality demos - Visual effects like glow, reflections, or transparency.
Rendering the Frames - Rendering is the process of converting 3D scenes into video sequences or images. It can take hours or days depending on: Scene complexity - Final resolution (Full HD, 4K, etc.) - Lighting and visual effects used.
Post-Production and Final Editing - After rendering, the animation goes through final polishing: Color correction - Adding background music, voice-over, or explanatory text - Final editing and export in the required format (MP4, MOV, etc.).
Conclusion - Creating a 3D product animation is a complex process, but it`s an extremely effective way to promote your products. By following these steps, you ensure that the final result is professional, engaging, and tailored to your brand`s needs. If you`re looking for a team that can turn your product into a stunning 3D animation, don`t hesitate to get in touch. We`re here to bring your ideas to life!